
it's no secret that i love medical aesthetics, so when i saw kotobukiya's megalomaria 'ruby eye' kit, i knew i wanted to do something with it. i'm not wild about the more angular, non-human looking mecha design. (it's a very cool design, just not my thing personally as far as what i want to collect)
there is an option to swap out the head for similarly scaled kotobukiya girlpla kits like megami device and sosai shoujou teien, but i wanted to do something a bit more elaborate than that as well. i really admire custom girlpla, although i'm usually too intimidated about messing them up do do anything more than assemble them and maybe smooth out the gate marks.
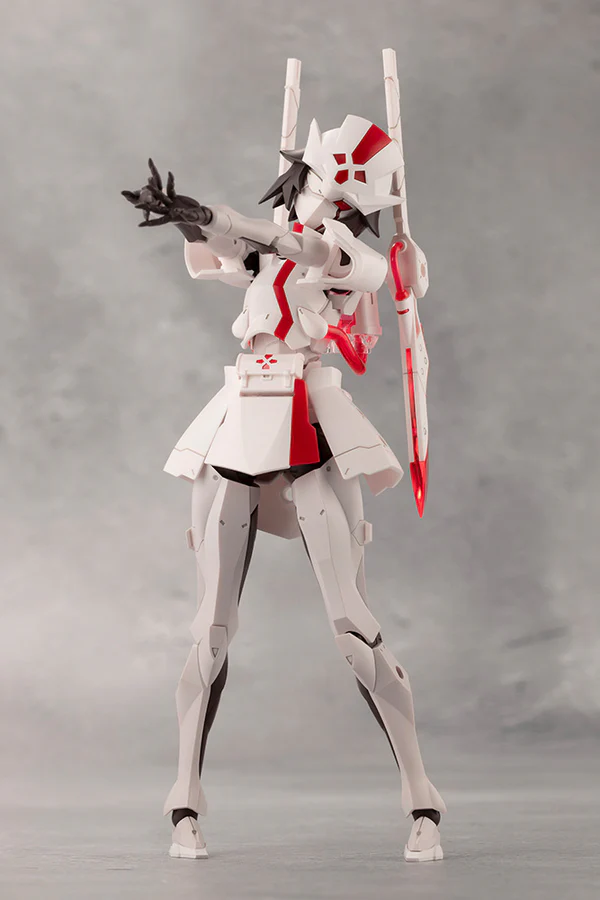
around the same time i saw ruby eye, i had just recently built my first buster doll kit. i love this new frame, they pose really smoothly and i think the proportions are cute. looking at buster doll gunner's white base form, i instantly knew what i wanted to do with the megalomaria kit. i got the "upgrade kit" version, with just the armored parts, weapons, and pills, so i wouldn't be wasting a base megalomaria model that i have no interest in displaying
there is an option to swap out the head for similarly scaled kotobukiya girlpla kits like megami device and sosai shoujou teien, but i wanted to do something a bit more elaborate than that as well. i really admire custom girlpla, although i'm usually too intimidated about messing them up do do anything more than assemble them and maybe smooth out the gate marks.
around the same time i saw ruby eye, i had just recently built my first buster doll kit. i love this new frame, they pose really smoothly and i think the proportions are cute. looking at buster doll gunner's white base form, i instantly knew what i wanted to do with the megalomaria kit. i got the "upgrade kit" version, with just the armored parts, weapons, and pills, so i wouldn't be wasting a base megalomaria model that i have no interest in displaying
i actually built the base buster doll and megalomaria parts in november 2024 (nearly 7 months ago as of writing this), but procrastinated on final assembly for many reasons, mostly lack of tools/supplies. i didn't want to order any supplies from japan in november or december knowing i'd be there in january, but then didn't bring the kit with me in january because i knew i'd be back in the states for the month of february. 
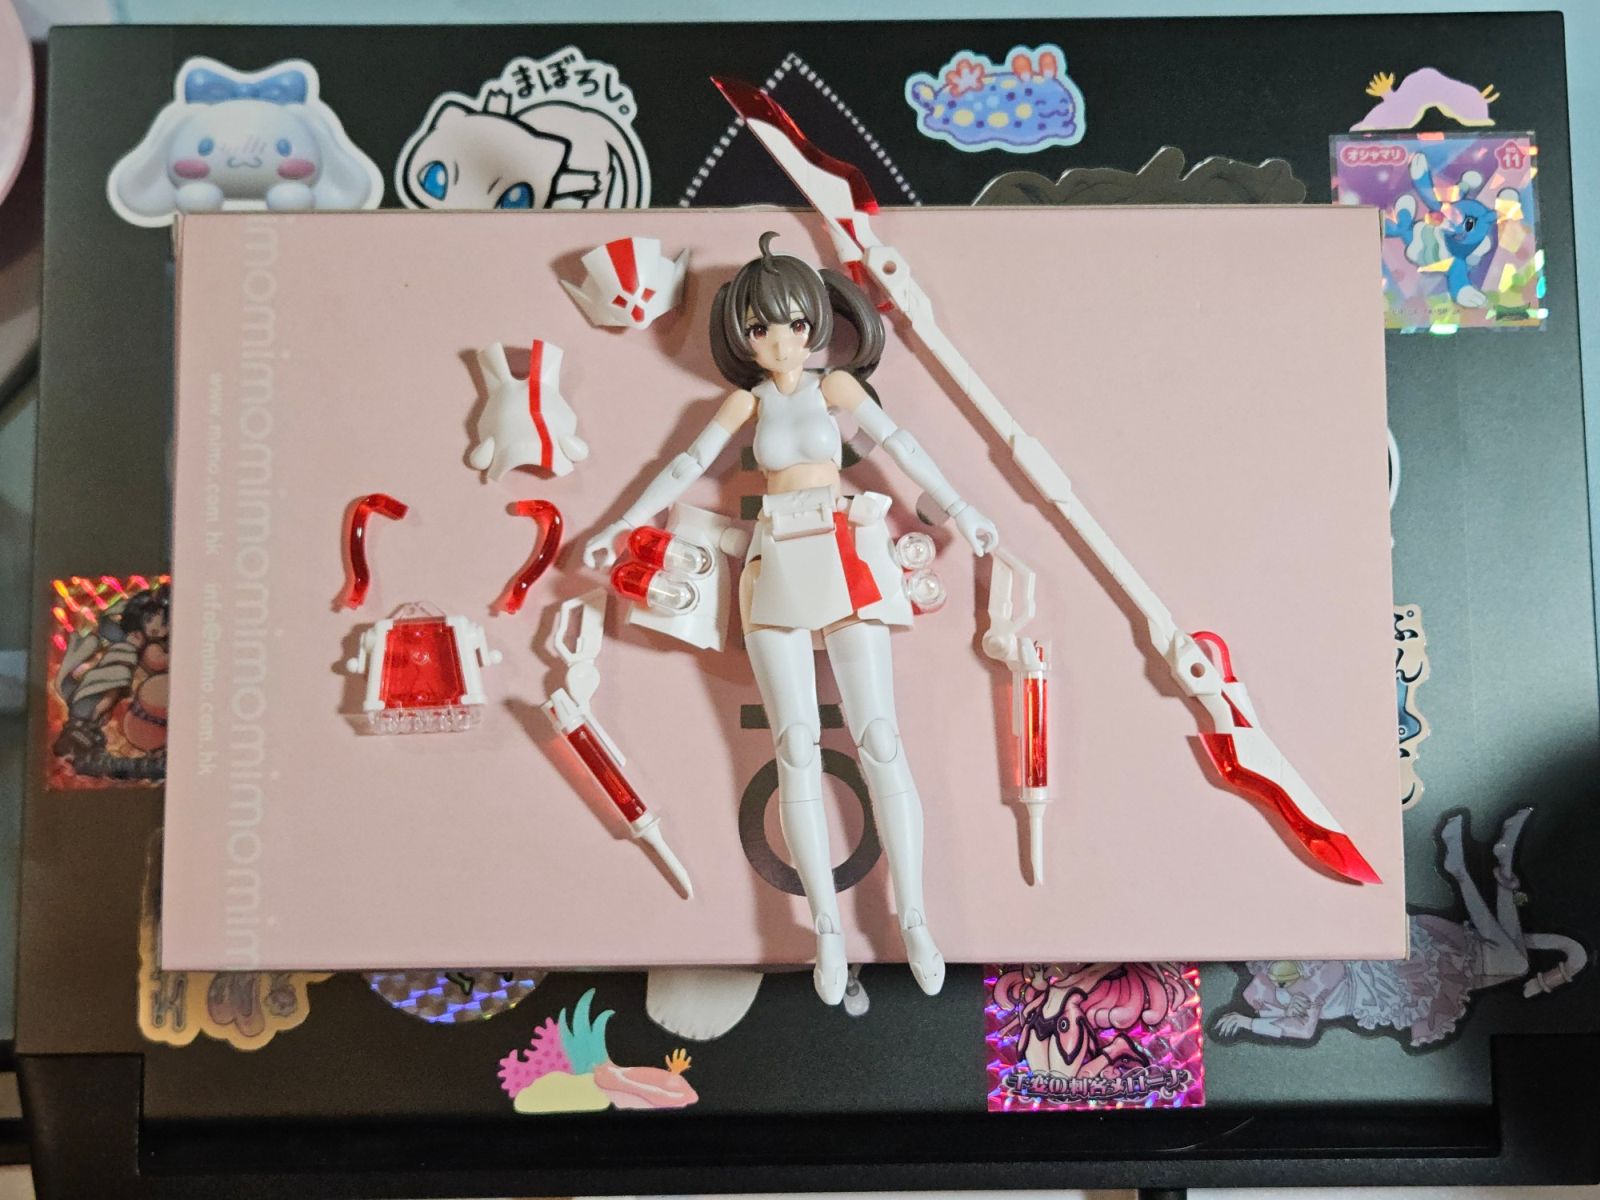
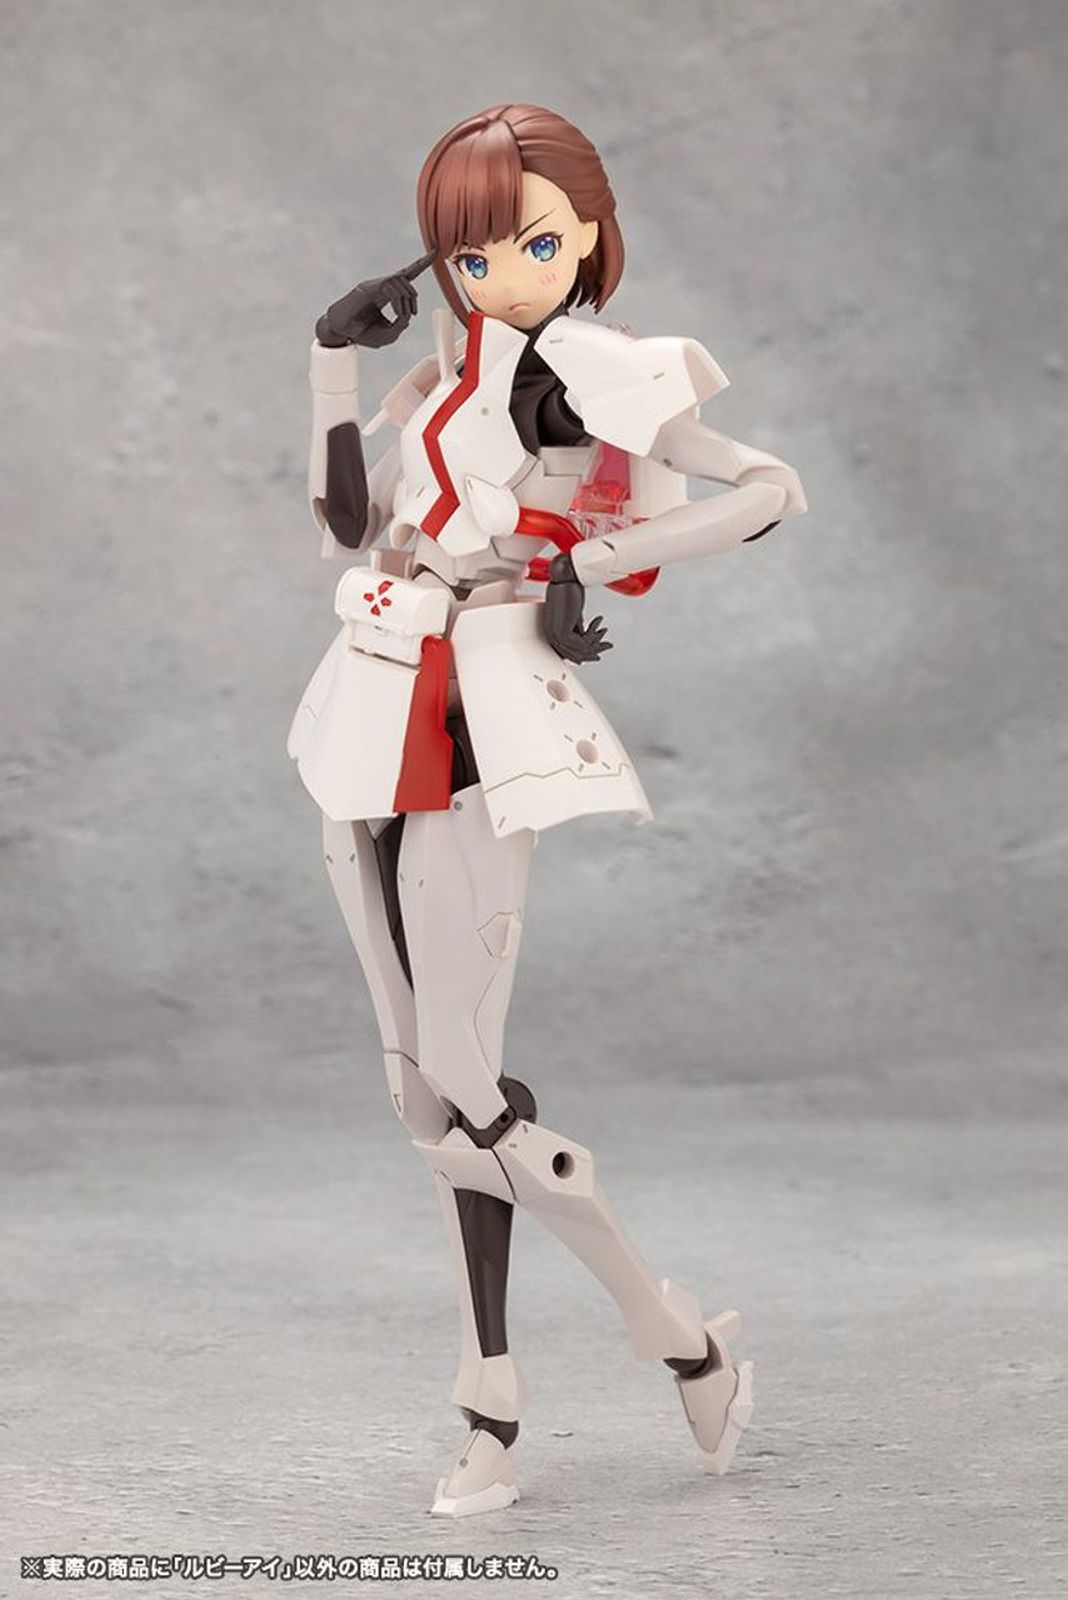
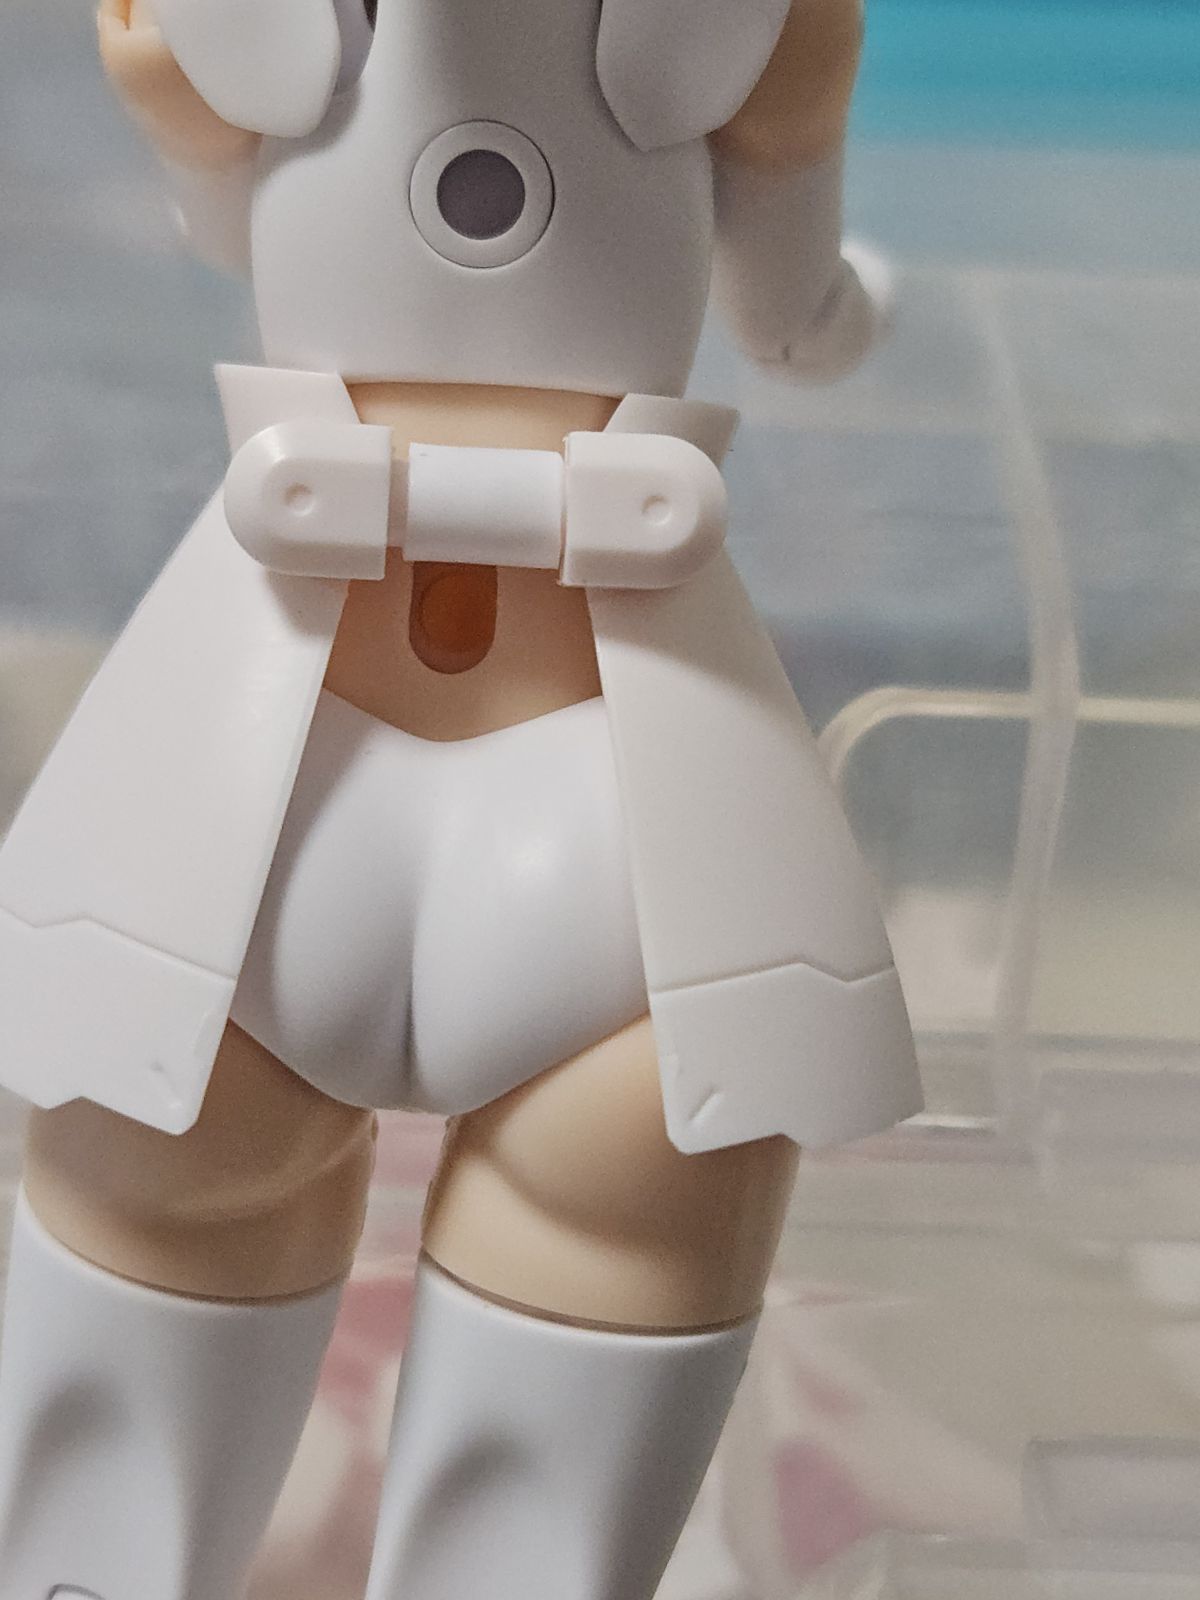
because the base frame and proportions of the buster doll are pretty different from the taller and slimmer kits that are directly compatible with megalomaria, adjusting the upgrade kit was going to take a bit more effort than i've put into girlpla in the past. fortunately the backpack and chest plate fit as-is, so those didn't need any mods really.
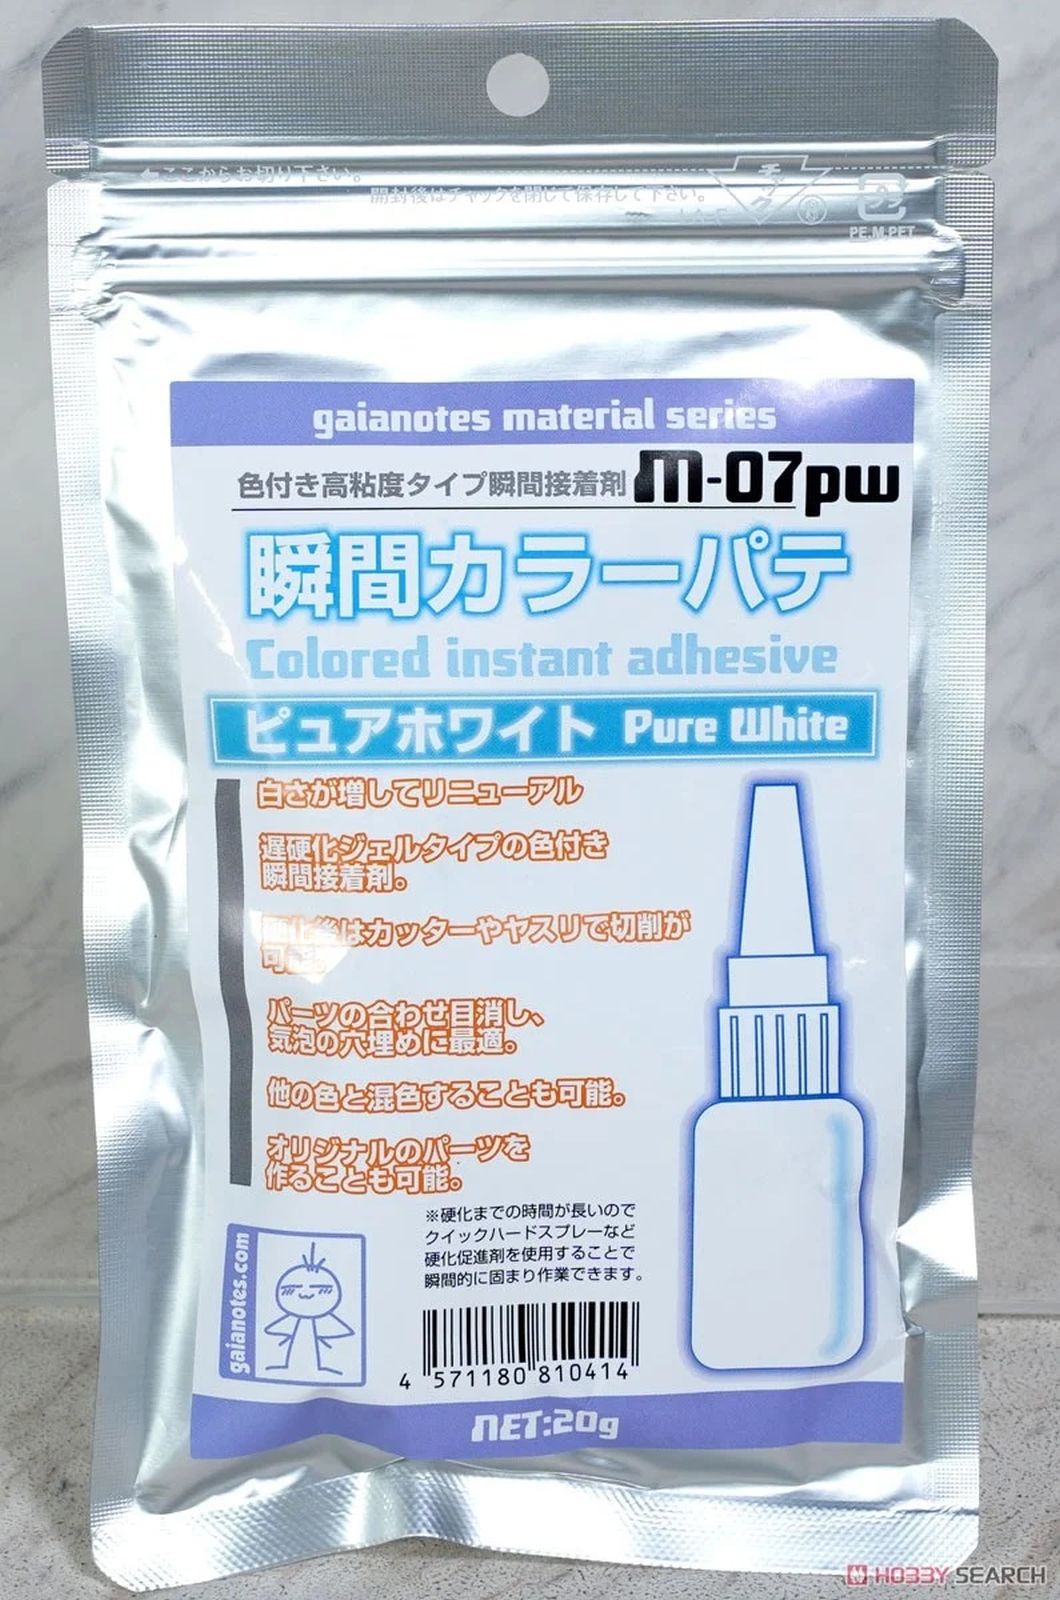
in order to attach the hat, i shaved off all the back gates and pegs, and adhered it to buster doll's white headband using super glue. i then filled in the gaps with gaianotes white adhesive that i'd gotten at yodobashi a while ago. i got that specifically for this project.. gaianotes has a lot of intriguing paints and supplies that really inspire me to be braver with customs as an excuse to use them haha.
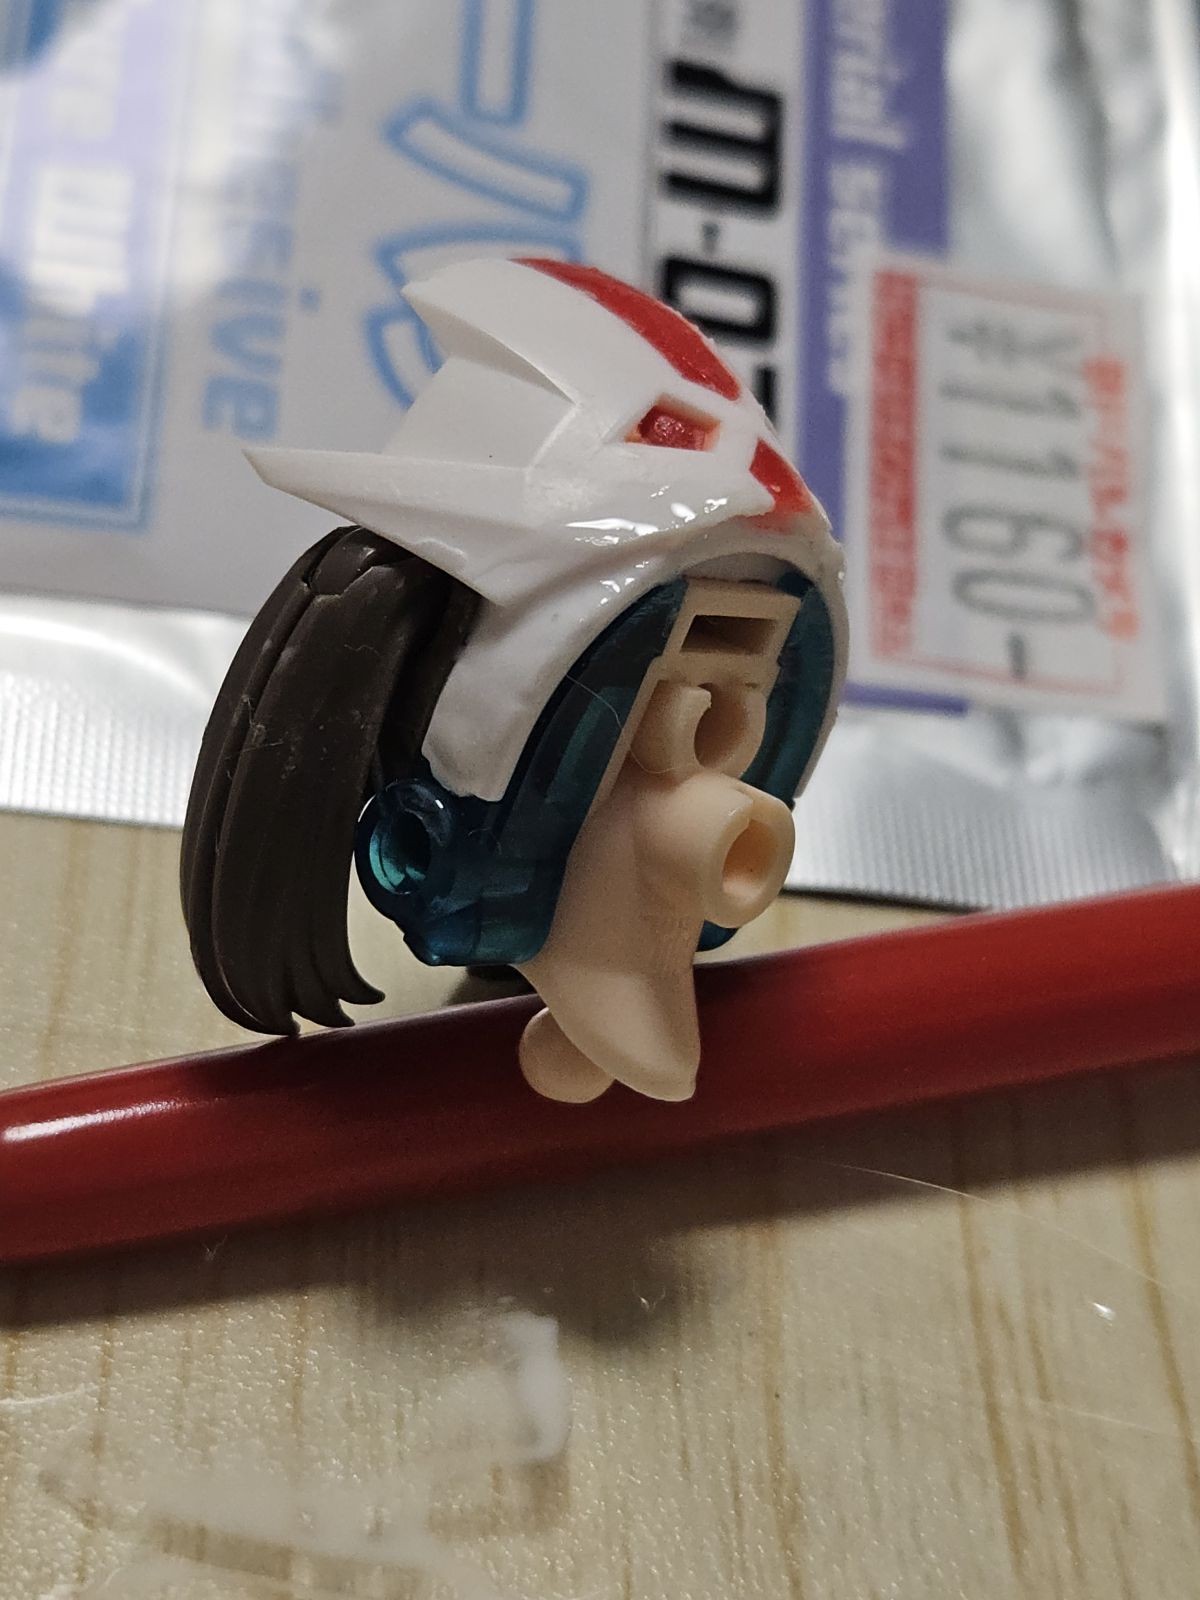
i let the liquid adhesive cure for a few days, as a lot of people's reviews said it's prone to staying sticky for quite a while. btw, 'adhesive' is a bit of a misnomer anyway; it's more of a liquid gap filler. i did try to use it to glue the hat straight on at first, but that went very poorly. after a lot of struggle, i ended up using regular CA glue to adhere then filling in gaps with this. i don't have any photos of the following step, but i carefully sanded and buffed out the glued areas so that they look more smooth. tbh i think i need to go back and do a bit more work on this, but it looks okay if you're not too close.
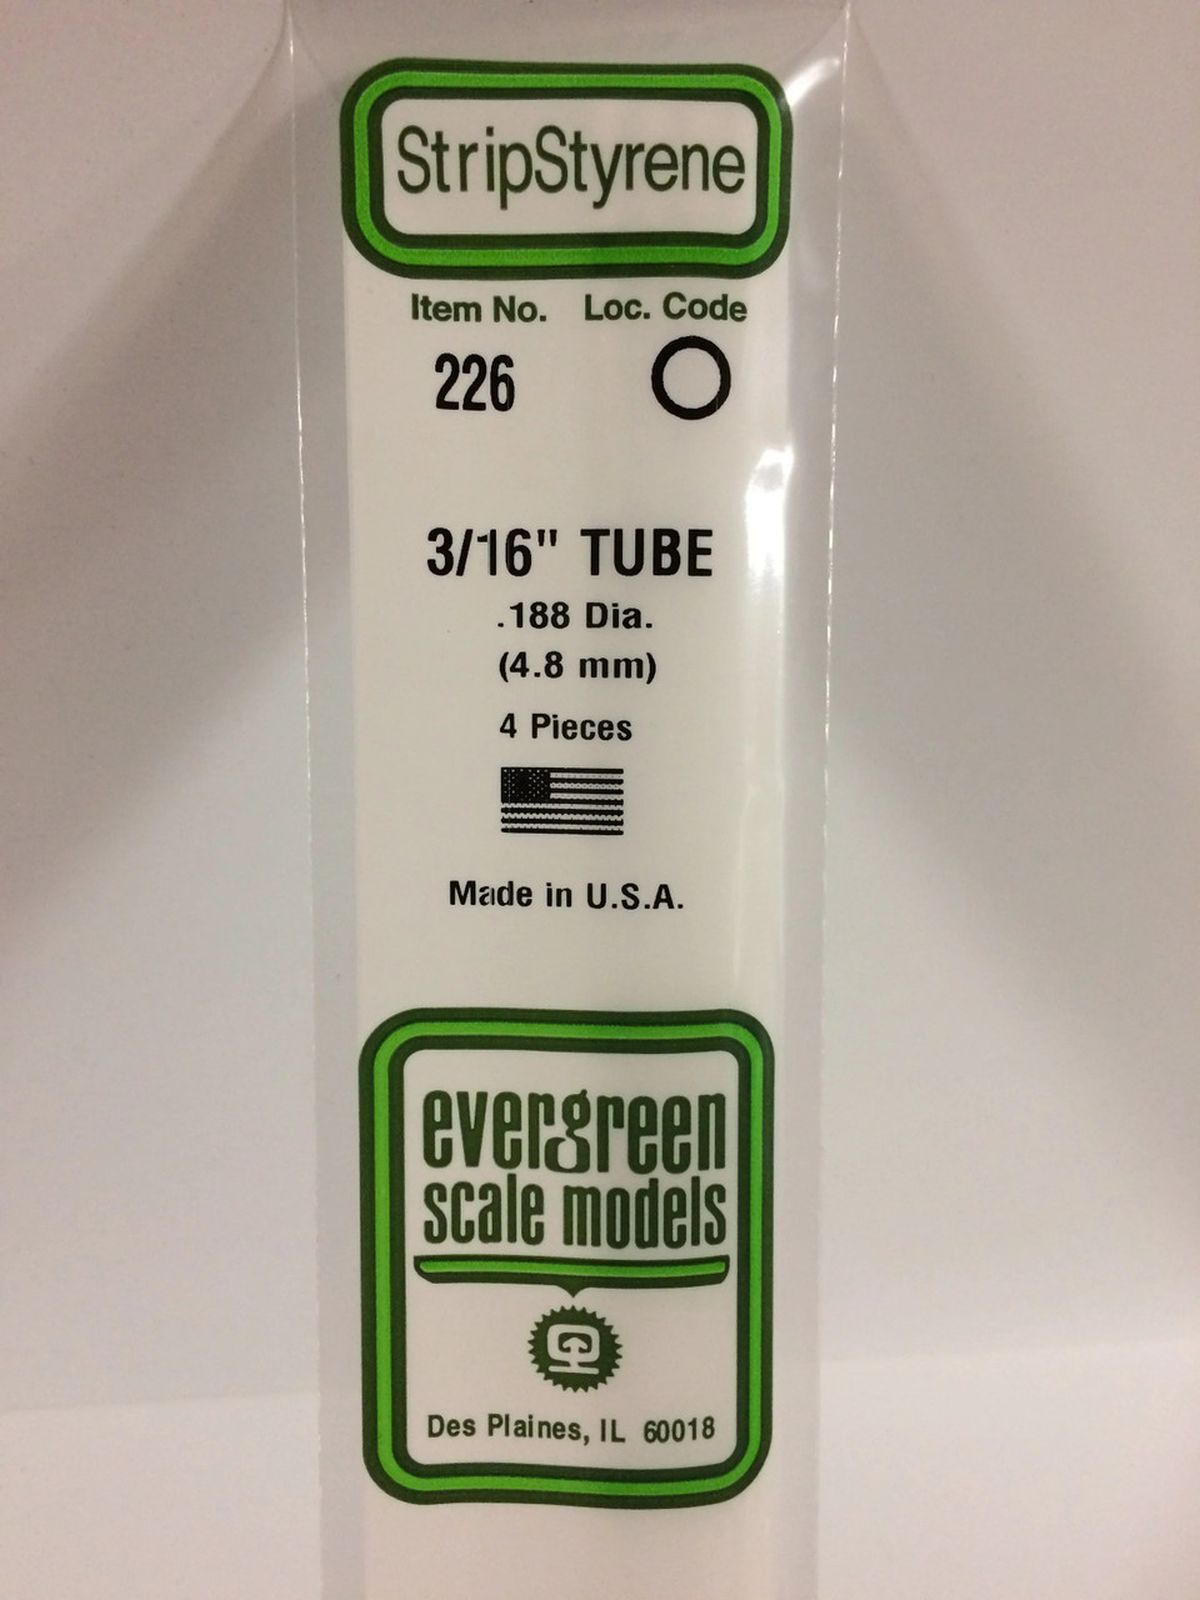
i decided to omit some of the panels on the 'skirt' armor, both for ease of custom, and because i like the open look. it feels more fantastical, like something from a sci-fi themed bishoujo game. then as far as attaching the parts, that was fairly easy. i wanted them to still have rotate-able joints in between like the original design, so i just got some polystyrene pipe with 3mm inner diameter, cut a small section of it, and sanded it smooth at either end. i don't think this is the best fit tbh, since it's technically an imperial 3/16in diameter, and not metric 3mm.
kotobukiya and bandai both make some supplemental 3mm connector parts for models, but i couldn't find white ones no matter how hard i looked. i'll keep looking, though. ideally, i'd like to find a small T shaped connector with 3mm holes on either side and then a 3mm peg to fit into the back hole of the buster doll model for stability.
because the base frame and proportions of the buster doll are pretty different from the taller and slimmer kits that are directly compatible with megalomaria, adjusting the upgrade kit was going to take a bit more effort than i've put into girlpla in the past. fortunately the backpack and chest plate fit as-is, so those didn't need any mods really.
in order to attach the hat, i shaved off all the back gates and pegs, and adhered it to buster doll's white headband using super glue. i then filled in the gaps with gaianotes white adhesive that i'd gotten at yodobashi a while ago. i got that specifically for this project.. gaianotes has a lot of intriguing paints and supplies that really inspire me to be braver with customs as an excuse to use them haha.
i let the liquid adhesive cure for a few days, as a lot of people's reviews said it's prone to staying sticky for quite a while. btw, 'adhesive' is a bit of a misnomer anyway; it's more of a liquid gap filler. i did try to use it to glue the hat straight on at first, but that went very poorly.
after a lot of struggle, i ended up using regular CA glue to adhere then filling in gaps with this. i don't have any photos of the following step, but i carefully sanded and buffed out the glued areas so that they look more smooth. tbh i think i need to go back and do a bit more work on this, but it looks okay if you're not too close. i decided to omit some of the panels on the 'skirt' armor, both for ease of custom, and because i like the open look. it feels more fantastical, like something from a sci-fi themed bishoujo game. then as far as attaching the parts, that was fairly easy. i wanted them to still have rotate-able joints in between like the original design, so i just got some polystyrene pipe with 3mm inner diameter, cut a small section of it, and sanded it smooth at either end. i don't think this is the best fit tbh, since it's technically an imperial 3/16in diameter, and not metric 3mm.
kotobukiya and bandai both make some supplemental 3mm connector parts for models, but i couldn't find white ones no matter how hard i looked. i'll keep looking, though. ideally, i'd like to find a small T shaped connector with 3mm holes on either side and then a 3mm peg to fit into the back hole of the buster doll model for stability.
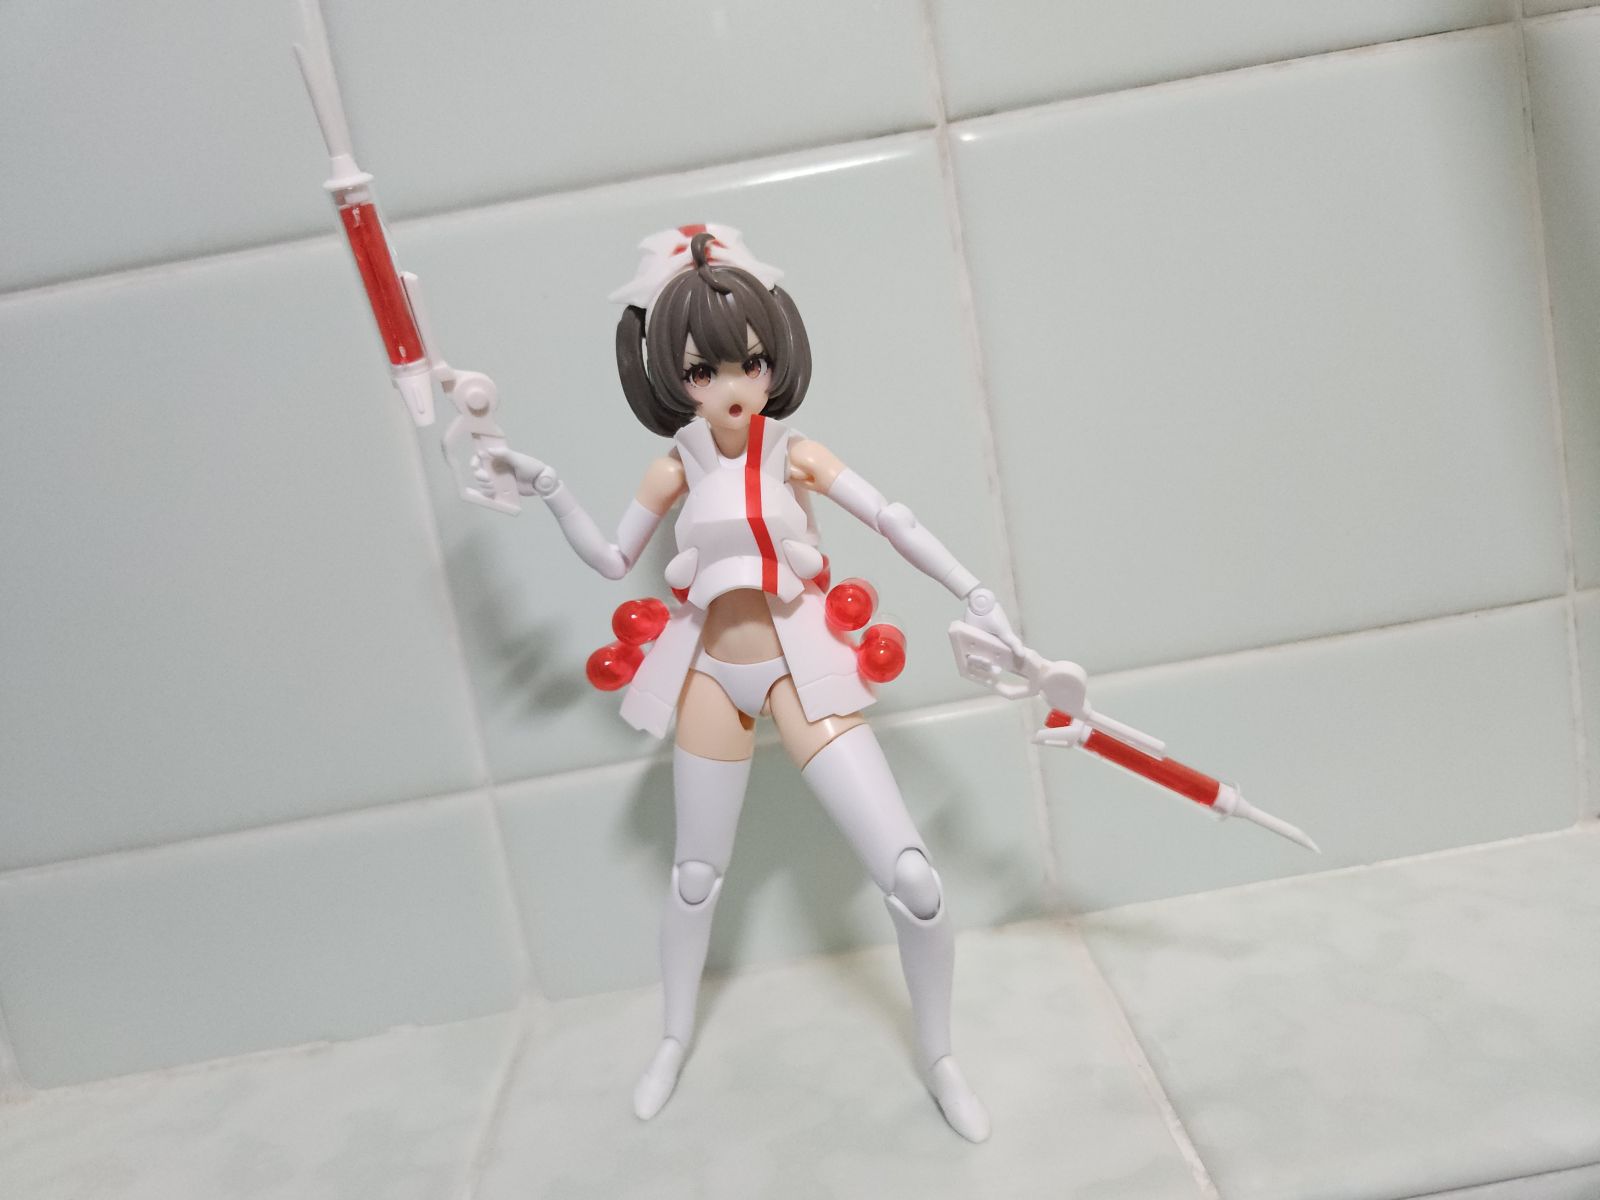
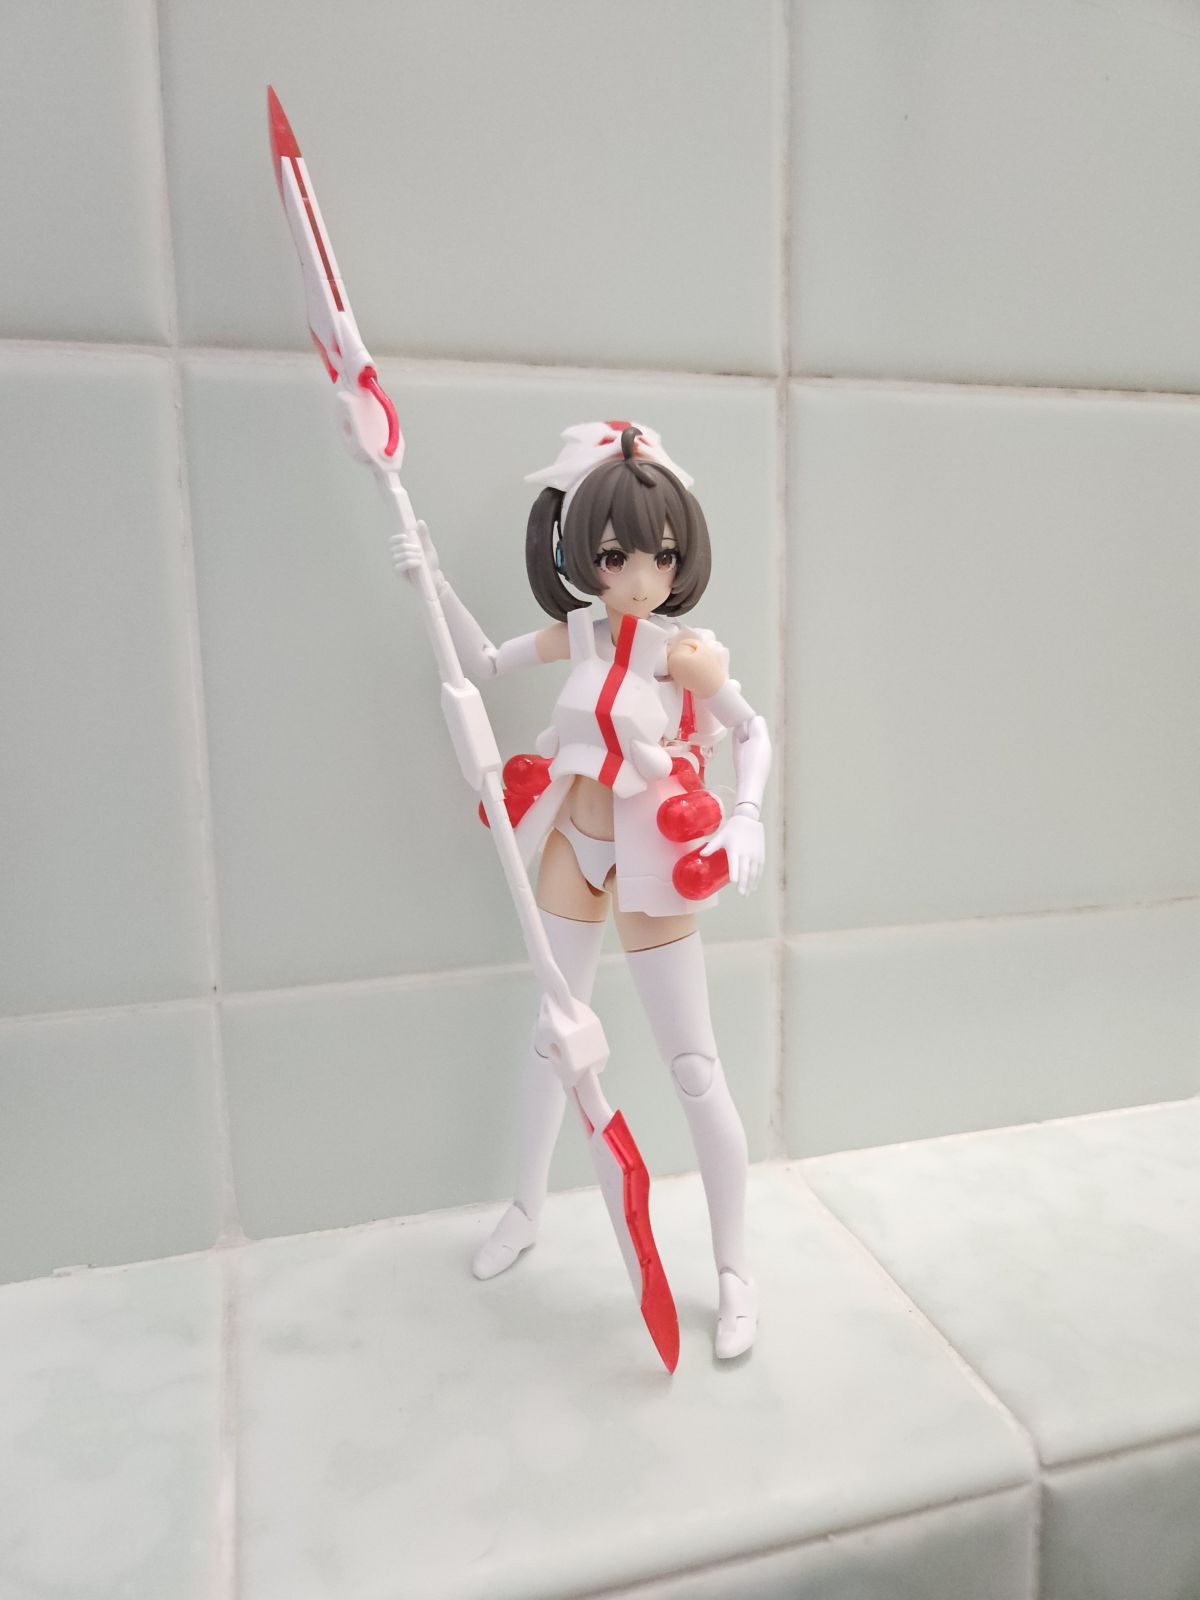
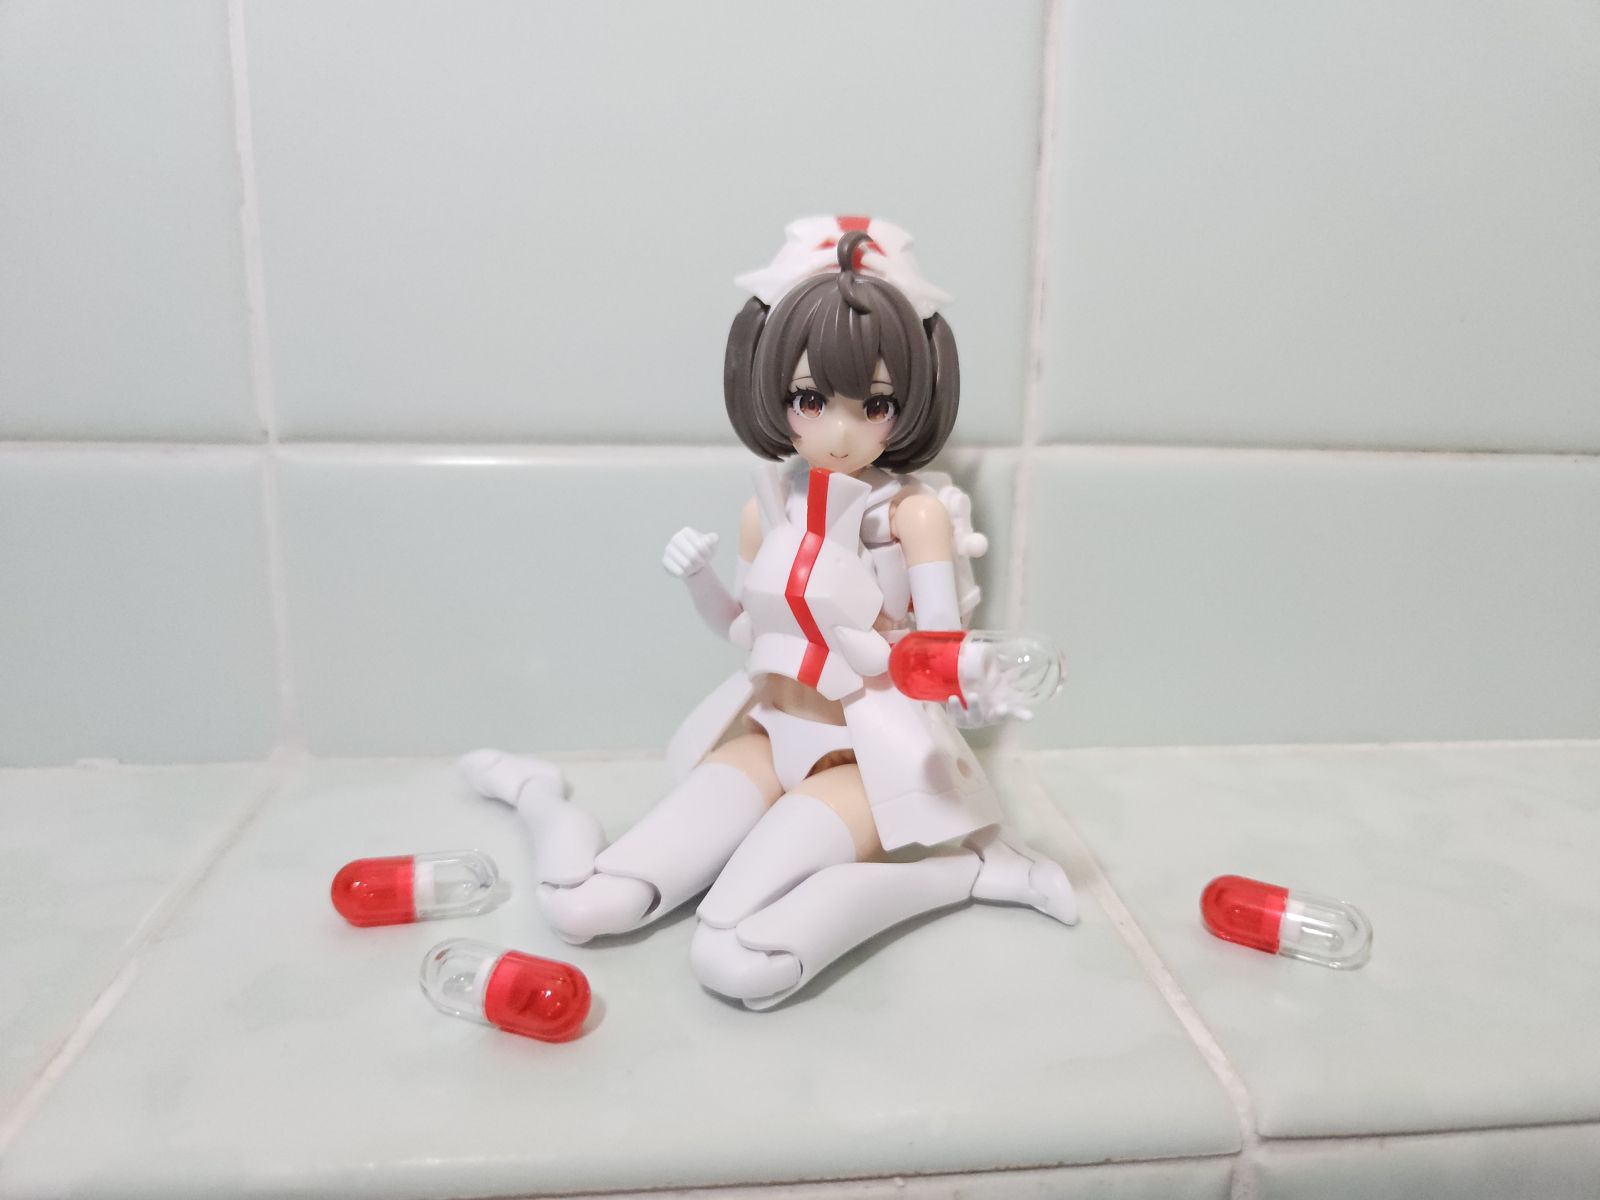
so that's the kitbash basically done! other than some improved buffing on the hat and a better connector as mentioned above, i'd also like to track down or make some medical decals for her socks (cadeuceus or ekg line?), and maybe a red cross icon for the back of her little shorts. haven't found any premade decals like that, and honestly i think the home printed ones don't look that good on small scale.
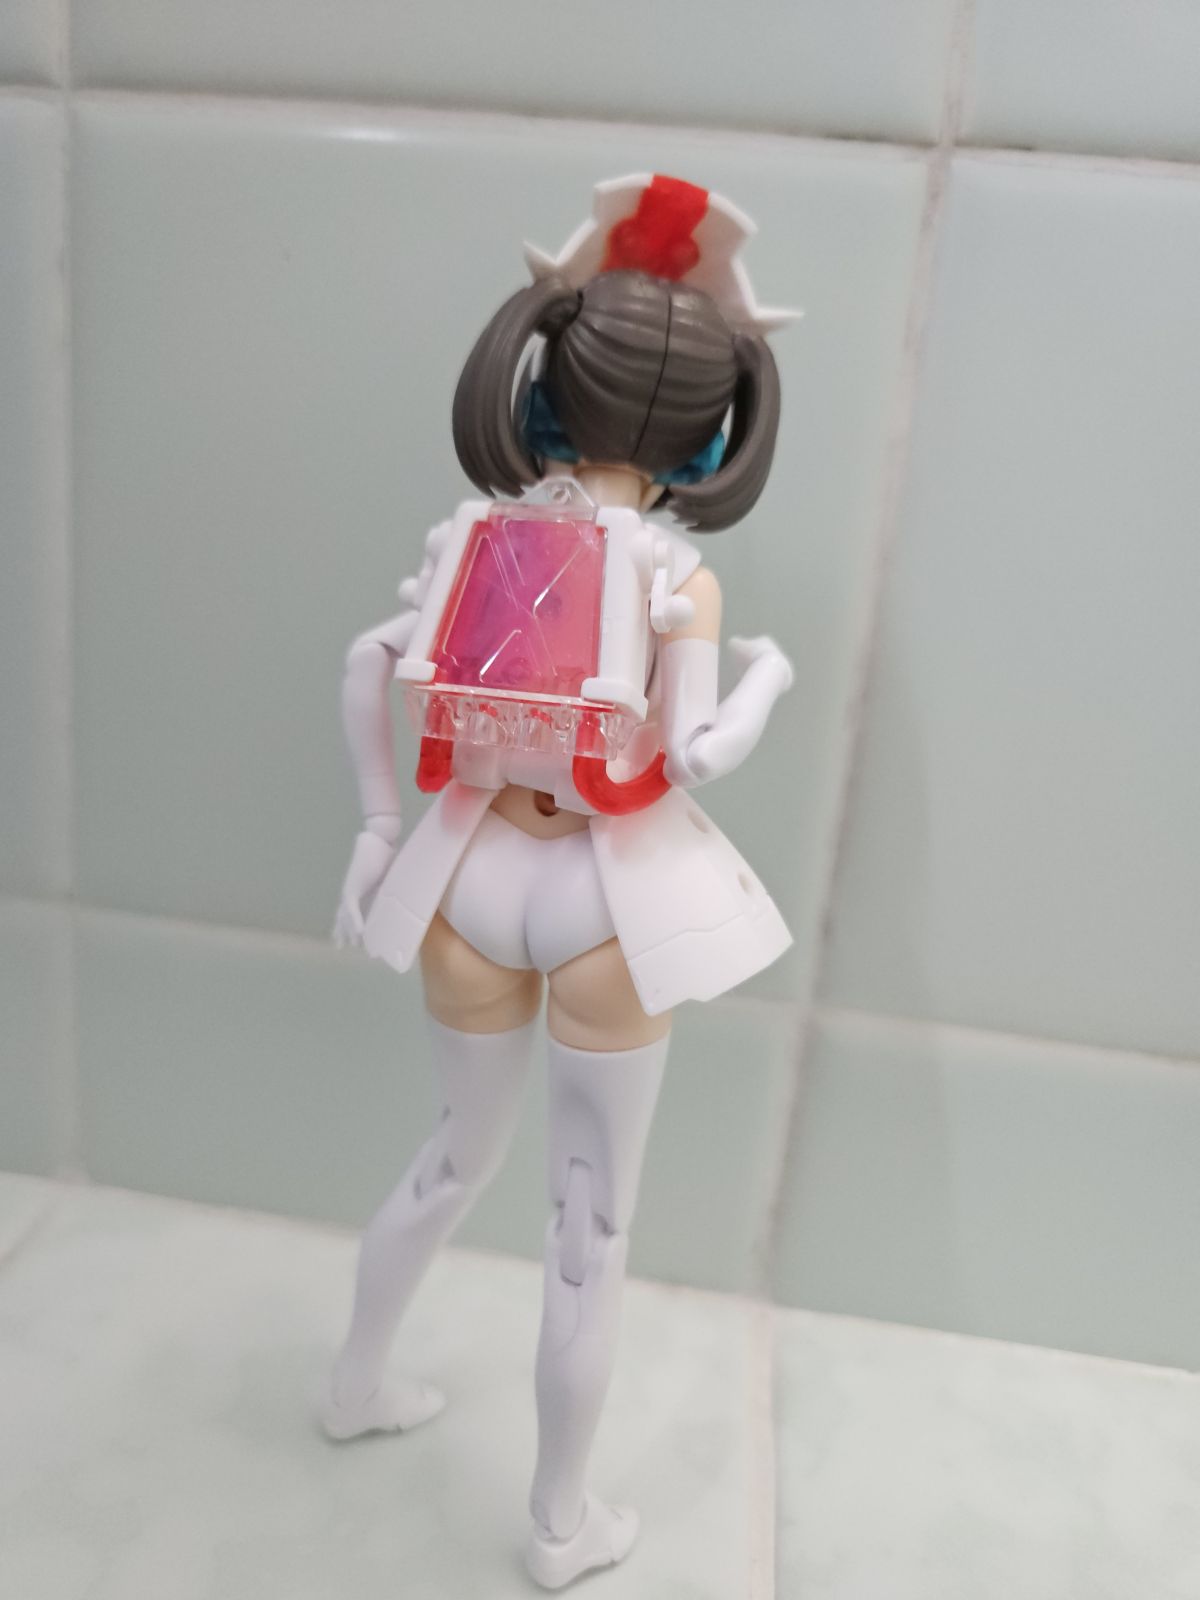
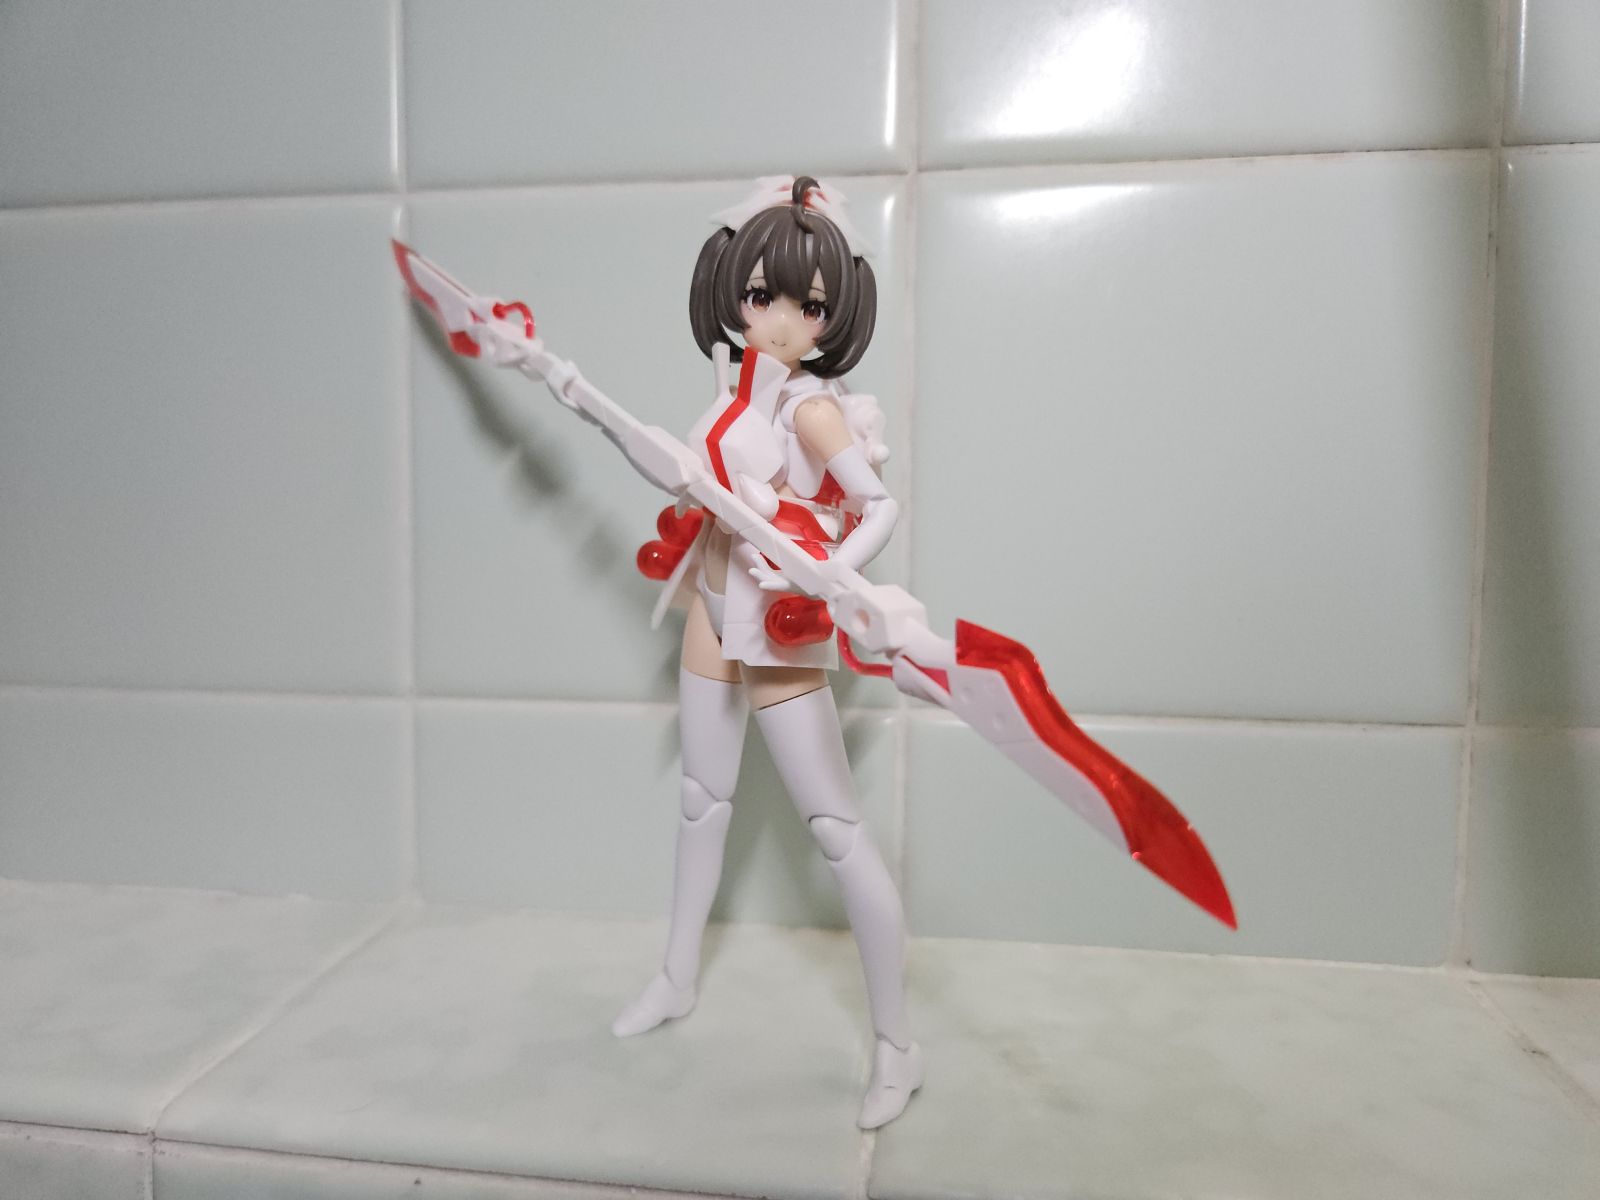
i took her out with me to a girlpla model shop that i've previously enjoyed visiting, and the staff guys said she's かわいい that made me happy to hear, since this is the most work i've put into a model. i did a little painting here and there on some previous girlpla, but nothing this involved. of course the last thing to do was to give her a little photoshoot. i'm glad the shower room in my house is hospital green lol.

i took her out with me to a girlpla model shop that i've previously enjoyed visiting, and the staff guys said she's かわいい
that made me happy to hear, since this is the most work i've put into a model. i did a little painting here and there on some previous girlpla, but nothing this involved. of course the last thing to do was to give her a little photoshoot. i'm glad the shower room in my house is hospital green lol.